Creating Custom Options Page in WordPress
- Article
- Comment
Creating Custom Options Page in WordPress. Creatting Admin Page options is not really a hardest part of WordPress. You can play and make your own options like in minutes. In this tutorial, you can able to understand, how to create options in easy steps. There are few plugins available, and also you can create from few WordPress plugins. But those are more space consumed and your WordPress may goes to viral. Let’s see how to make your own Options page for your Theme or Plugin.
Bascially, WordPress provides extendable features to make your options to run easily. Let’s create a class for options, we can play easily with a class.
class KvcodesOptionsPage
{
}

if( is_admin() )
 $settings_page = new KvcodesOptionsPage();
With this class, we will write the custom options feature here. For my theme I just want to put everything in a one option. Its fine for keeping all options inside my theme name.
Now declaring a private variable and expand my class.
private $kv_options;
Now, Let’s create a constructor by creating an admin page.
 public function __construct() {
        add_action( 'admin_menu', array( $this, 'add_plugin_page' ) );
        add_action( 'admin_init', array( $this, 'kv_options_init' ) );
    }

    public function add_plugins_page(){
        add_menu_page('Kvcodes', 'Kvcodes', 'manage_options', 'kvcodes' , array( $this,'kv_admin_kvcodes') );
    }
From the above one, We created two functions, one is kv_admin_kvcodes and another function is kv_options_init. Now , these functions will help us to make our page now. Here kv_admin_kvcodes is a callback function , So which will display or render the view point of admin page. Let’s create a form and write like the below one.
public function kv_admin_kvcodes() {
$this->kv_options = get_option( 'kv_options' ); ?>
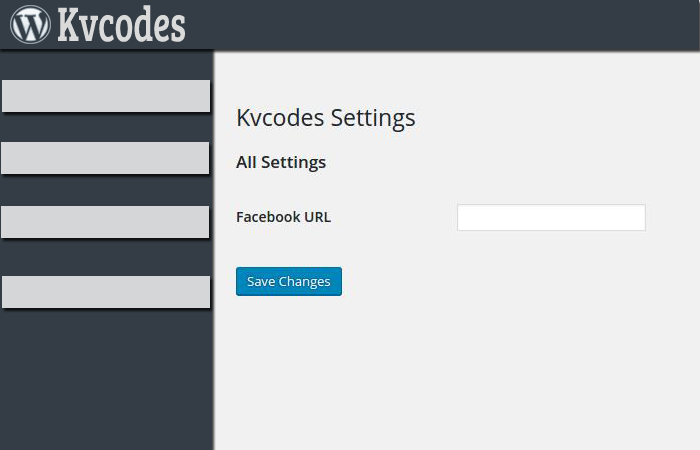
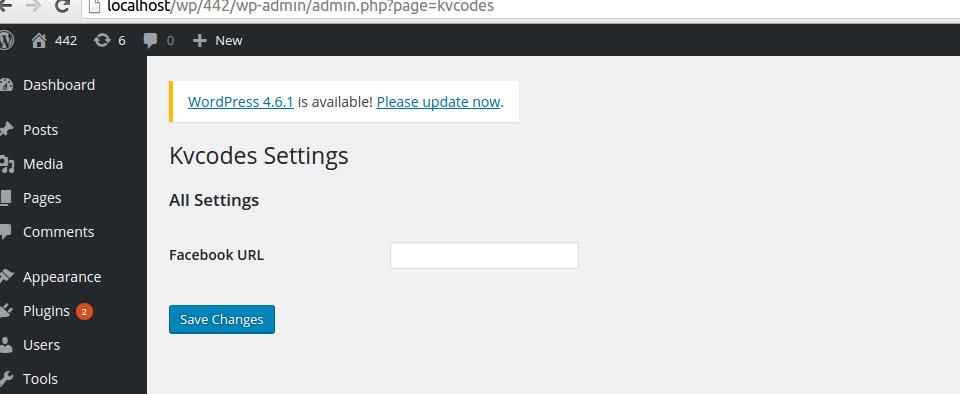
<div class="wrap">
<h1>Kvcodes Settings</h1>
<form method="post" action="options.php">
<?php
// This prints out all hidden setting fields
do_settings_sections( 'kv-setting-admin' );
submit_button();
?>
</form>
<?php }
Now, the view form is ready, But no form component in it atpresent. Let’s create the options by using the kv_options_init.
 public function kv_options_init() {
          register_setting(
                   'kv_group', // Option group
                   'kv_options', // Option name
                   array( $this, 'sanitize' ) // Sanitize
          );

          add_settings_section(
                   'setting_section_id', // ID
                   'All Settings', // Title
                   array( $this, 'print_section_info' ), // Callback
                   'kv-setting-admin' // Page
          );

          add_settings_field(
                   'fb_url', // ID
                   'Facebook URL', // Title
                   array( $this, 'fb_url_callback' ), // Callback
                   'kv-setting-admin', // Page
                   'setting_section_id' // Section
          );
}
From the above code, register_setting is a function to register our custom option name and its group.add_settings_section will be the function to handle the section of our options. I just used one for all. we have a call back function print_section_info . You can put some guidelines or some informations here ,else declare a blank function.
public function print_section_info(){
        //your code...
}
Next, add_settings_field With Help of this function, you can write the and create options. I mean, its an array of options, we are just making one sub array element here such as fb_url “Facebook URL”.
we have a callback function for each options. Let’s see an example Callback function fb_url_callback.
public function fb_url_callback()
 {
        printf(
               '<input type="text" id="fb_url" name="kv_options[fb_url]" value="%s" />',
               isset( $this->kv_options['fb_url'] ) ? esc_attr( $this->kv_options['fb_url']) : ''
        );
 }
That’s it for single function. Actually for the first time you feel its big and confusing. once you get this code and worked,you can customize it easily. One more function exist now. let sanitize the input before saving it to database.
 public function sanitize( $input ) {
         $new_input = array();
         if( isset( $input['fb_url'] ) )
                 $new_input['fb_url'] = sanitize_text_field( $input['fb_url'] );
         return $new_input;
 }
That’s it. I made a simple plugin with my example code. you can download it here.
If you like this article, follow me on below social sites to get more updates and tutorials from me.