File Upload in PHP With Database
- Article
- Comment
File Upload in PHP With Database. This is really necessary feature for every website. Most of us build a site with images and other downloadable files. And we need to collect images and files from users for further reference. Let’s create a html form to handle file upload option from your website.
1. Introduction
PHP helps to handle the file uploads and keep it in a separate directory. We can’t save the files to database. Actually we can, the problem is that consumes more space in database. That will make your database slow with that your entire site will become slow.

File Upload in PHP With Database
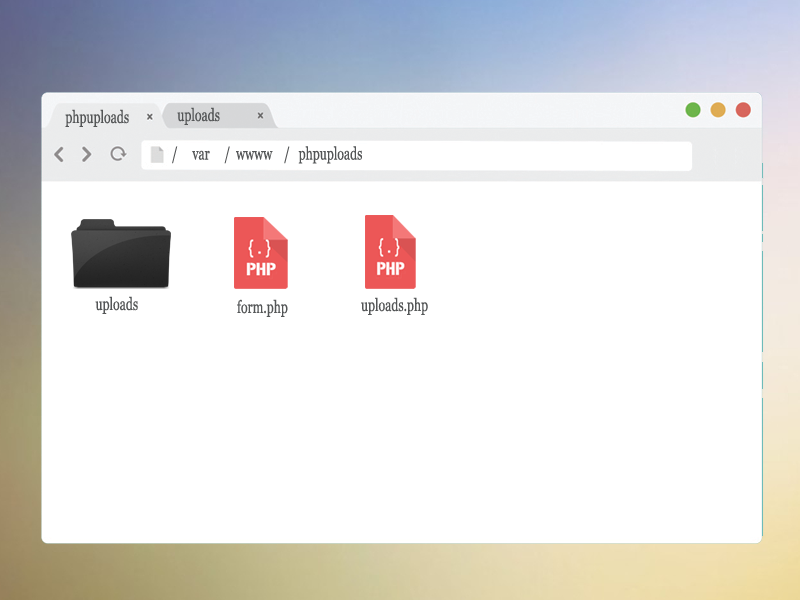
So let’s save the files to the host folder. Which we can call whenever we required. Let’s start with HTML component first.
2. HTML Form
<!-- form.php -->
<form action="uploads.php" method="post" enctype="multipart/form-data">
 <label> Select File: <input type="file" name="attachment" > </label>
 <input type="submit" name="HandleUpload" value="Upload" >
</form>
With that html form. We will create the PHP code to handle the file and upload it on server.
3. File Upload in PHP
PHP can be done through the below code.
<?php
/*      -----   uploads.php    ----  */
if(isset($_FILES["attachment"]["error"])){
 if($_FILES["attachment"]["error"] > 0){
    echo "Error: ".$_FILES["attachment"]["error"];
 }else {
   $uploads_dir = "uploads/";
   move_uploaded_file($_FILES["attachment"]["tmp_name"], $uploads_dir. $_FILES["attachment"]["name"]);
   echo "Selected File Uploaded Successfully." ;
 }
} ?>
Now, This is not enough to handle uploads. Sometimes user may submit a duplicate file or same filename may be used by another file. Let’s write file exist check function to validate before upload it.
4. File Exist
Let’s check the filename is exist or not. If the filename already exist, we will let user to know and rename it. The below code helps you to understand it.
if(isset($_FILES["attachment"]["error"])){
   if($_FILES["attachment"]["error"] > 0){
      echo "Error: ".$_FILES["attachment"]["error"];
   }else {
    $uploads_dir = "uploads/";
    if(file_exists($uploads_dir. $_FILES["attachment"]["name"])){
        echo $_FILES["attachment"]["name"] . " is already exists. Please Rename and Upload it again";
    } else{
        move_uploaded_file($_FILES["attachment"]["tmp_name"], $uploads_dir. $_FILES["attachment"]["name"]);
    }
  }
}
Also we can restrict upload by size. That will be next part, you can suggest me the changes.
5. Size Restriction
Sometimes we have the limitation of size. Suppose If the user uploads more size data it Will be extra headache to us. So we will limit the data size and if the uploaded file is more than that than we can put restriction to upload it.
$maxsize = 2 * 1024 * 1024; //2MB maximum allowed.
$filesize= $_FILES["attachment"]["size"];
if($filesize > $maxsize)
 die("Error: File size is larger than the allowed limit.");
Let’s go to the next level with file type.
6. File Type
We need to limit the upload file type. Sometimes we need Upload images only or some selected format files.
$filename = $_FILES["attachment"]["name"];
$allowed = array( 'jpg', 'jpeg', 'gif', 'png', 'bmp');
$ext = pathinfo($filename, PATHINFO_EXTENSION);
if(!array_key_exists($ext, $allowed))
   die("Error: Please select a valid file format.");
Let’s do this operation and create database entry for it.
7. Database Operations
We need to create a database and followed by a table to store the uploaded file information on server. So Let’s use the following MySQL Query to create one.
CREATE DATABASE IF NOT EXISTS Kvcodes_Demo
and Here is the query to create Table with in it.
CREATE TABLE IF NOT EXISTS `kv_images` (
 `id` int(10) NOT NULL AUTO_INCREMENT,
 `filename` varchar(200) COLLATE utf8_unicode_ci NOT NULL,
 `type` varchar(20) COLLATE utf8_unicode_ci NOT NULL,
 `size` varchar(20) COLLATE utf8_unicode_ci NOT NULL,
 `date` date NOT NULL,
 PRIMARY KEY (`id`)
) ENGINE=InnoDB DEFAULT CHARSET=utf8 COLLATE=utf8_unicode_ci;
That’s so simple to import it to your database directly with the help of phpmyadmin. Let’s begin with Database Connectivity.
$kv = new mysqli('localhost', 'root', '123', 'Kvcodes_Demo');

if ($kv->connect_error) { // Check connection
 die("Connection failed: " . $kv->connect_error);
}
 // Here our Operations will be coded. Also the previous File Upload code should be placed here.
$kv->close();
Let’s insert details when new file is uploaded.
// Here our Operations will be coded.
 if(file_exists($uploads_dir. $_FILES["attachment"]["name"])){
     echo $_FILES["attachment"]["name"] . " is already exists.";
 } else{
     move_uploaded_file($_FILES["attachment"]["tmp_name"], $uploads_dir. $_FILES["attachment"]["name"]);
     mysqli_query($kv, "INSERT INTO kv_images (filename, type, size, date) values ( '".$_FILES["attachment"]["name"]."', '".$_FILES["attachment"]["type"]."', '".$_FILES["attachment"]["size"]."', '".date('Y-m-d')."')");
     if(mysqli_insert_id($kv)){
         echo ' Successfully Inserted #'.mysqli_insert_id($kv);
     }
 }
We have done it to Upload a file and save its entry in the database. You can change the Database Table fields and also add more validations and filtering options to prevent vulnerability.
If you like this simple Article to explain the Easy file upload operations Follow me through social sites and subscribe me to get more articles.


