Install Chart of Accounts Frontaccounting
- Article
- Comment (1)
Install Chart of Accounts Frontaccounting is one of a basic step to change your Accounts Format and make the things to work on your local Standard Format. Here I am going to give you the steps to install a COA for your Frontaccounting. Lets start with a example of installing Australia’s COA created by Pete.
Just move to your Front accounting and open setup page, than click ” Install/Activate Chart of Accounts“. Here you will get a list of COA’s Which are available in Frontaccounting Repository. The Window Looks like this
,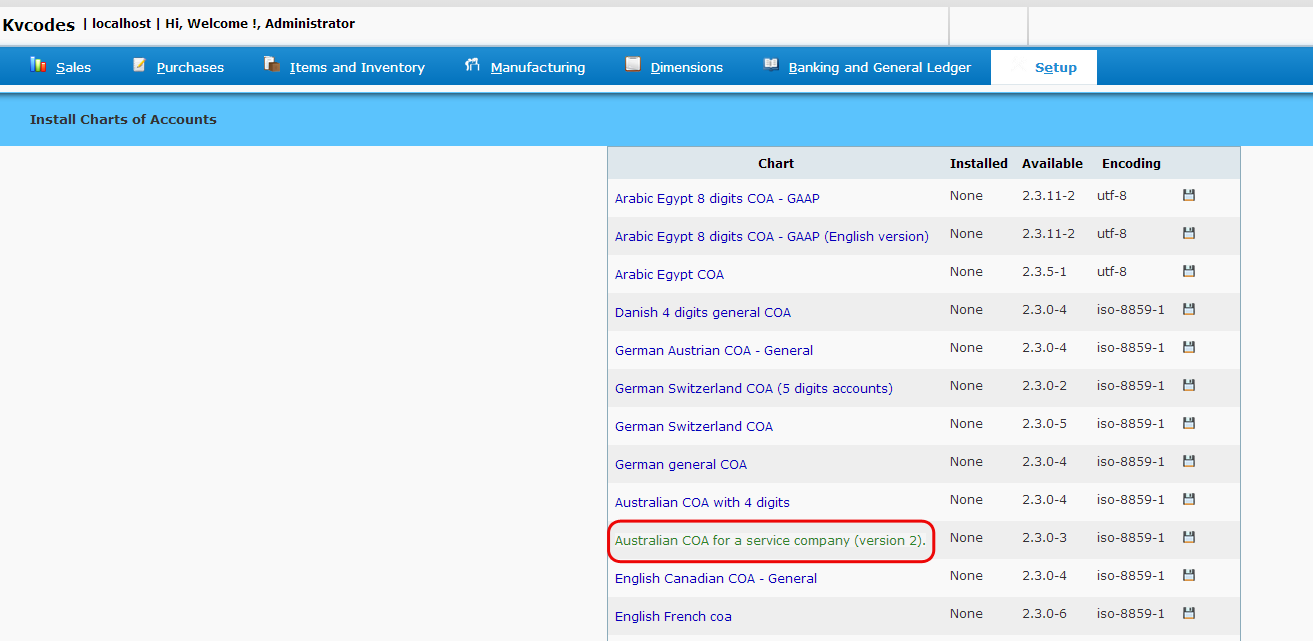
Now, just press the save button which is showing on the right end of the ” Australian COA for a Service Company ( Version 2). “. Than move to the Setup page to create a new company to install the selected COA.
Now, press Create/Update Company from the settings page. The page look like this.
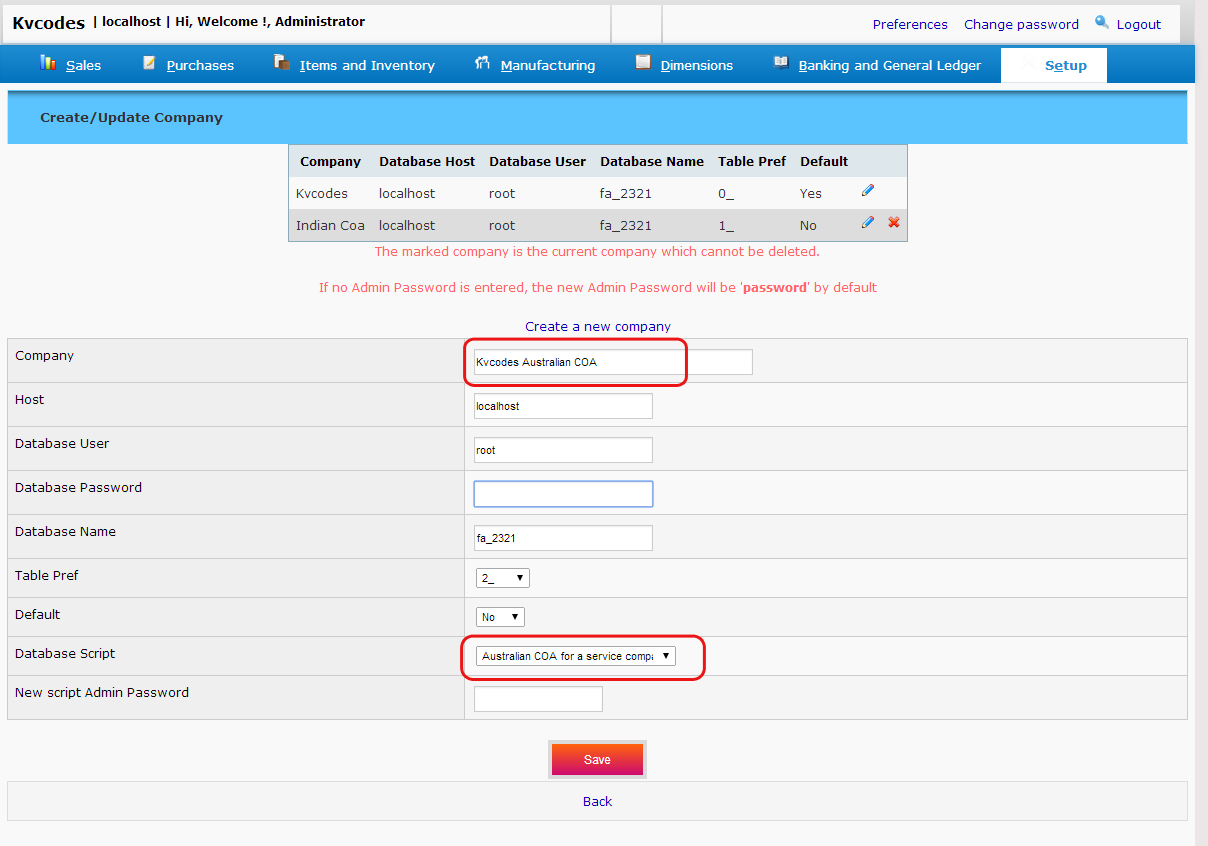
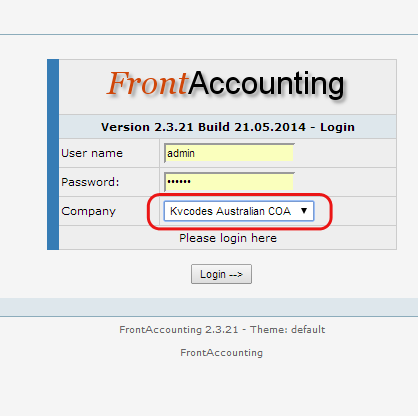
While creating new company, you have to specify the Company name and Database Script, Which is Accounts format. Select your recently installed and necessary one from the list and save it. Than logout and login again. You will get the company name there. Select your new company while logging in.


how to merge the results of two report pdf files into single file in frontaccounting